

Is there any cake better suited for V-Day? I don't think so!
Valentine’s Day is usually not a holiday I go out of my way to celebrate, even now that I’m engaged. I guess I’ve just always sort of associated it with a commercial excuse to buy things for people for no reason other than Hallmark telling you you should. Not that I have anything against people celebrating it themselves! It’s just never really been my thing. I guess we’ll see if that changes once Jessi and I live on the same continent... hopefully in the same apartment!
Today’s recipe might just be the perfect example of a company convincing consumers they absolutely can’t live without their product, which helps seal the deal on making this cake a perfect treat for your Valentine’s Day evening, even if you’re choosing not to celebrate. It’s also something I have a huge fondness for, and have been itching to try my hand at making myself from scratch.
Today’s recipe might just be the perfect example of a company convincing consumers they absolutely can’t live without their product, which helps seal the deal on making this cake a perfect treat for your Valentine’s Day evening, even if you’re choosing not to celebrate. It’s also something I have a huge fondness for, and have been itching to try my hand at making myself from scratch.

I’ve talked about the mystery behind the red velvet cake in the past, and ended up making a cake that could pass for its cousin. Although the story goes that red velvet cakes were the result of crafty Depression or World War II era bakers using beets in their chocolate cakes to make up for food shortages or rationed products, there’s no evidence that a true red velvet cake existed in the 1930’s or 40’s. There were velvet cakes, which have been around since the post Civil War period, and there were red tinted chocolate cakes – helped by beets or a chemical reaction between vinegar, buttermilk, and non-Dutched anthocyanin-rich cocoa – but the first print references to red velvet cakes properly called red velvet cakes can be traced to the late 1950’s or early 1960’s at the earliest.
However, most people these days know red velvet cakes as basically any cake that looks as red as a Valentine heart, and that’s not thanks to beets or the cocoa powder: it’s because of food dye.
Some food historians suggest that Adams Extract, a Texas based company, was the first company to begin aggressively advertising using food dye in cake batter to consumers. Adding liquid food coloring to make interesting looking cakes was not an entirely new concept (it actually goes back as far as the 1870’s), but older recipes called for only a few drops, leaving the color pretty mild. Original recipes for red chocolate cakes changed the game by encouraging consumers to use a considerable amount more than that, making their cakes extremely vibrant in comparison to their ancestors.
According to Gil Marks, a guest writer for Tori Avey’s American Cakes feature, the first widely known bright red cake using commercial food dye can be attributed to the Waldorf Astoria in New York in 1959. When this cake began catching media attention, copycats began to spring up all over the country, changing the name from Waldorf Red Cake to Waldorf Red Velvet Cake, or just Red Velvet Cake. It became heavily associated with the South and Southern cooking, although thousands of bakeries around the country feature it today regardless of region. Adams Extract and other companies began marketing the recipe as a good way to use their products, and the cake has remained a staple in American popular consciousness since then.
Well, there was a brief hiccup in the 1970’s where people panicked about the dangers of using red food dye in any product, but after the cake was featured in Steel Magnolias in 1989, it enjoyed a resurgence in popularity.
When talking about my plans to bake this cake with a coworker, she remarked that she doesn’t really like red velvet cake because it often doesn’t taste like anything, with the wow factor simply being that it’s a bright red cake. I totally agree with her, because a lot of people that produce the cake don’t do it right. A good red velvet should have a subtle chocolate flavor rather than just being bland and sweet, and if you’re making it with cream cheese frosting, make sure you’re putting in enough butter and sugar to make it taste like frosting, not something that should be served with lox!
I decided to use the recipe featured on Tori Avey’s website I linked above, as I’ve had great successes with many of her recipes in the past and it sounded like a good fit for what I was looking to do. It also gave me an opportunity to try out one of the cake pans my godmother got me for my birthday, so that was exciting as well!
To start off, cream together 1/2 of a cup of shortening with 1 1/2 cups of sugar. Add two eggs, one at a time, into the mixture, beating well after each addition.
Tori’s recipe recommends combining 2 tablespoons of unsweetened cocoa powder, 1/4 of a cup of red food coloring, and 1 1/2 teaspoon of vanilla extract in a smaller bowl. This helps make sure the food dye and cocoa powder are well combined so you don’t end up with streaks of brown and red in your batter.
Well, this is where I hit a snag, because I could only get my hands on gel food coloring. This is nicer than liquid in some cases because you can use less and still get a really strong color, but spoiler alert: it was really hard to combine everything together smoothly and eventually just gave up and dumped it into the other wet ingredients, along with 1 teaspoon of salt.
Next, alternate 2 1/2 cups of cake flour with 1 cup buttermilk. Finally, mix together 1 teaspoon of white vinegar with 1 teaspoon of baking soda (you get to watch it foam!) and fold it into your batter, which then gets separated equally between two greased eight inch cake pans.


The cakes baked in the oven for about 45 minutes at 350 degrees, although the recipe said it should only take about 30 minutes. My oven runs a little cool, so I usually have to leave things in for a little longer.
You can really see how marbled my cakes ended up here. It wasn’t as noticeable once the cakes were frosted, but the effect was pretty cool to look at while the cakes cooled.


You can start frosting after the cakes have cooled for about an hour, but I wrapped mine up in saran wrap and put it in the fridge overnight. Cold cakes are easier to frost than hot or room temperature ones, and the cake can keep for a while in the fridge if you want to bake it ahead of time.
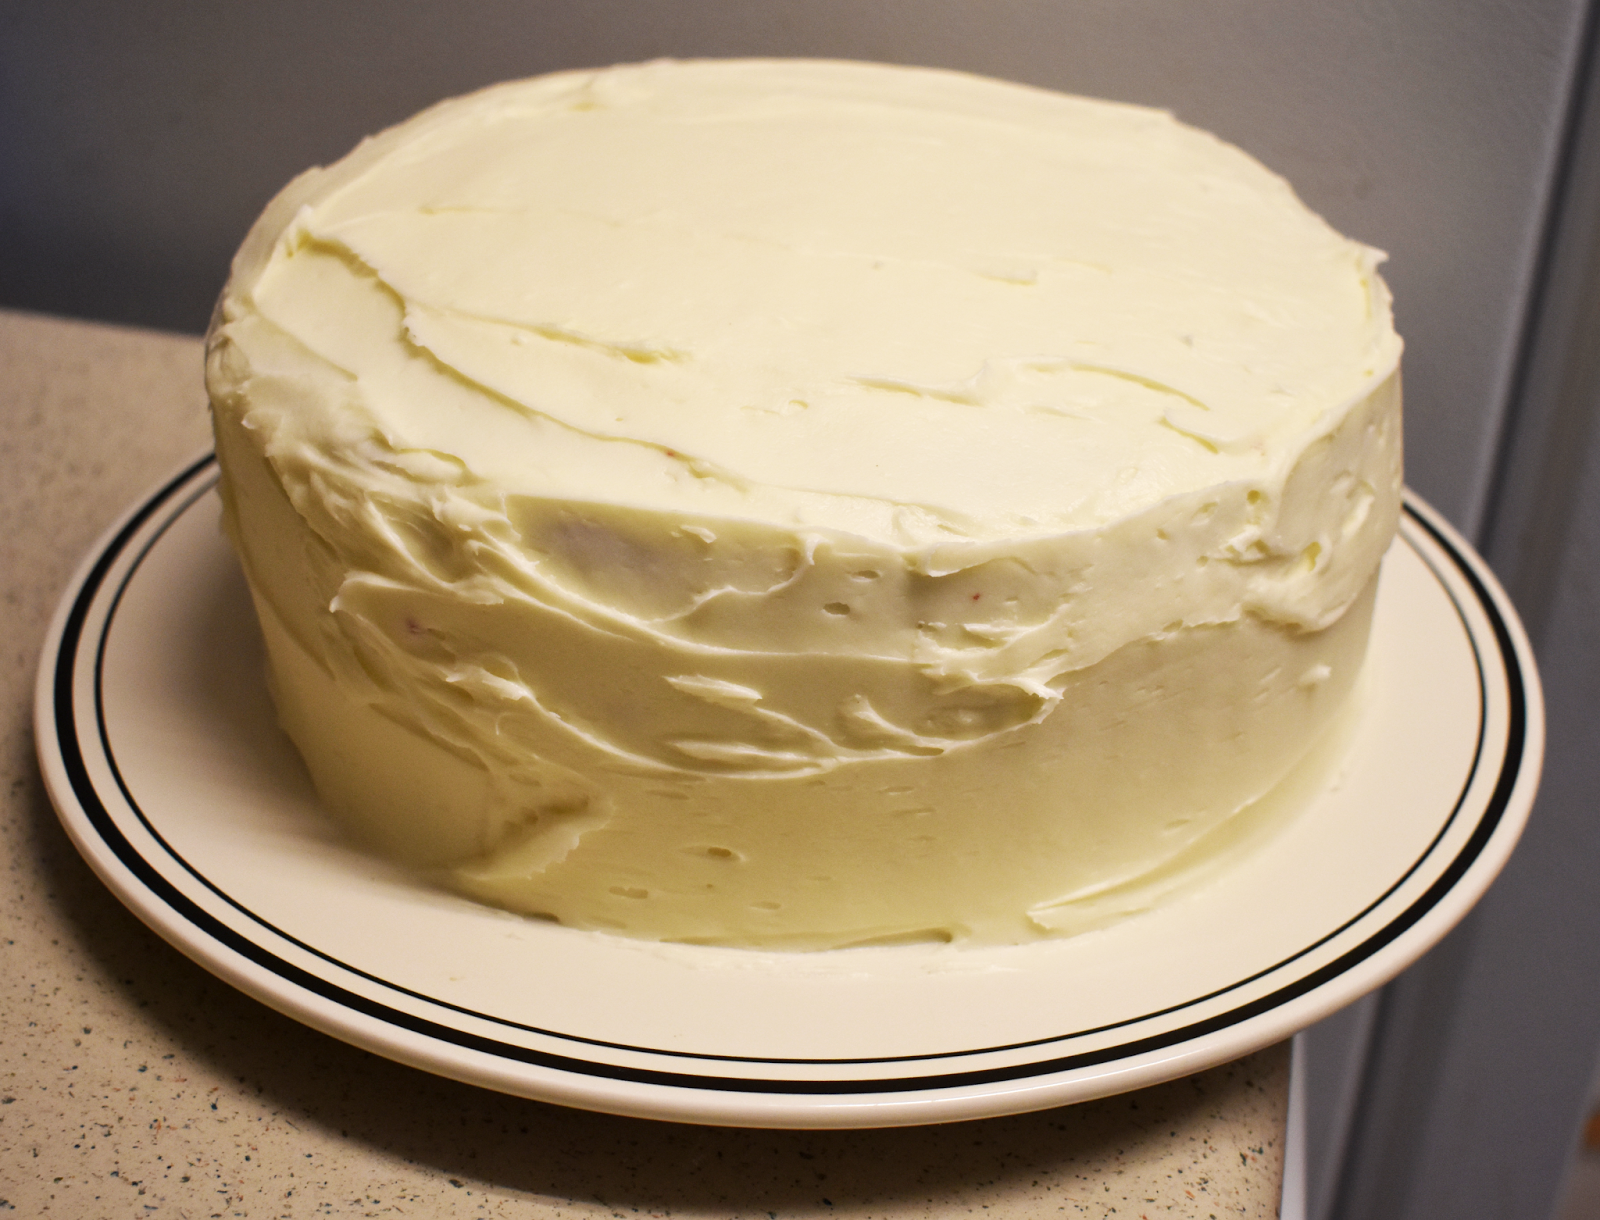
The frosting requires beating 1 cup of softened cream cheese with 1/2 cup of room temperature unsalted butter, which blends together nice and smoothly. Once they’re well mixed, gradually add in a whole pound of confectioners' sugar (that’s four cups, if you prefer volume based measurement!) until everything’s nice and thick. Finish it off with a teaspoon of vanilla, and you’re ready to frost!


I’ve had some unpleasant experiences frosting cakes before, but this worked like a dream. The frosting was really thick, but also very easy to work with. I had just the right amount to cover both cakes in a nice, thick layer of frosting, with plenty in between for filling.


I added some festive sprinkles, and voila!

I’m not going to pretend like this is the single most beautiful cake you or I have ever seen, but honestly… I was and am really super proud of it. And took approximately 800 photos of it.
I mean, look at this baby!

And sometimes simplicity is beautiful in and of itself, right? Plus, this was the first cake I’ve ever made that was both a delight to frost and came out looking great. Maybe I’m starting to come around on cream cheese frosting.
Speaking of which…


This was a really tasty cake. The frosting was definitely the overpowering flavor element, being both very sweet, a teeny bit tart from the cream cheese, and the vanilla really sealing the deal to delicious frosting. The cake itself was also nice, with just a little chocolatey flavor that a good red velvet cake should have. It also wasn’t as violent a red as it could have been, which was appreciated by some of my taste testers. I personally don’t mind heavily artificially colored food every now and then, but the really aggressive dye is still a turn off for some people, even after we’re using safer red food dyes.
I’d happily make this again, as you can probably tell, although I think next time, I’ll try to find the liquid food dye. As cool as the marbled look was, it would be fun to make a cake that’s just one color!
Or, you know. Maybe it would be fun to try and make a red and blue version of it. Might be an interesting 4th of July dessert, don’t you think?
However, most people these days know red velvet cakes as basically any cake that looks as red as a Valentine heart, and that’s not thanks to beets or the cocoa powder: it’s because of food dye.
Some food historians suggest that Adams Extract, a Texas based company, was the first company to begin aggressively advertising using food dye in cake batter to consumers. Adding liquid food coloring to make interesting looking cakes was not an entirely new concept (it actually goes back as far as the 1870’s), but older recipes called for only a few drops, leaving the color pretty mild. Original recipes for red chocolate cakes changed the game by encouraging consumers to use a considerable amount more than that, making their cakes extremely vibrant in comparison to their ancestors.
According to Gil Marks, a guest writer for Tori Avey’s American Cakes feature, the first widely known bright red cake using commercial food dye can be attributed to the Waldorf Astoria in New York in 1959. When this cake began catching media attention, copycats began to spring up all over the country, changing the name from Waldorf Red Cake to Waldorf Red Velvet Cake, or just Red Velvet Cake. It became heavily associated with the South and Southern cooking, although thousands of bakeries around the country feature it today regardless of region. Adams Extract and other companies began marketing the recipe as a good way to use their products, and the cake has remained a staple in American popular consciousness since then.
Well, there was a brief hiccup in the 1970’s where people panicked about the dangers of using red food dye in any product, but after the cake was featured in Steel Magnolias in 1989, it enjoyed a resurgence in popularity.
When talking about my plans to bake this cake with a coworker, she remarked that she doesn’t really like red velvet cake because it often doesn’t taste like anything, with the wow factor simply being that it’s a bright red cake. I totally agree with her, because a lot of people that produce the cake don’t do it right. A good red velvet should have a subtle chocolate flavor rather than just being bland and sweet, and if you’re making it with cream cheese frosting, make sure you’re putting in enough butter and sugar to make it taste like frosting, not something that should be served with lox!
I decided to use the recipe featured on Tori Avey’s website I linked above, as I’ve had great successes with many of her recipes in the past and it sounded like a good fit for what I was looking to do. It also gave me an opportunity to try out one of the cake pans my godmother got me for my birthday, so that was exciting as well!
To start off, cream together 1/2 of a cup of shortening with 1 1/2 cups of sugar. Add two eggs, one at a time, into the mixture, beating well after each addition.
Tori’s recipe recommends combining 2 tablespoons of unsweetened cocoa powder, 1/4 of a cup of red food coloring, and 1 1/2 teaspoon of vanilla extract in a smaller bowl. This helps make sure the food dye and cocoa powder are well combined so you don’t end up with streaks of brown and red in your batter.
Well, this is where I hit a snag, because I could only get my hands on gel food coloring. This is nicer than liquid in some cases because you can use less and still get a really strong color, but spoiler alert: it was really hard to combine everything together smoothly and eventually just gave up and dumped it into the other wet ingredients, along with 1 teaspoon of salt.
Next, alternate 2 1/2 cups of cake flour with 1 cup buttermilk. Finally, mix together 1 teaspoon of white vinegar with 1 teaspoon of baking soda (you get to watch it foam!) and fold it into your batter, which then gets separated equally between two greased eight inch cake pans.


The cakes baked in the oven for about 45 minutes at 350 degrees, although the recipe said it should only take about 30 minutes. My oven runs a little cool, so I usually have to leave things in for a little longer.
You can really see how marbled my cakes ended up here. It wasn’t as noticeable once the cakes were frosted, but the effect was pretty cool to look at while the cakes cooled.


You can start frosting after the cakes have cooled for about an hour, but I wrapped mine up in saran wrap and put it in the fridge overnight. Cold cakes are easier to frost than hot or room temperature ones, and the cake can keep for a while in the fridge if you want to bake it ahead of time.
The frosting requires beating 1 cup of softened cream cheese with 1/2 cup of room temperature unsalted butter, which blends together nice and smoothly. Once they’re well mixed, gradually add in a whole pound of confectioners' sugar (that’s four cups, if you prefer volume based measurement!) until everything’s nice and thick. Finish it off with a teaspoon of vanilla, and you’re ready to frost!


I’ve had some unpleasant experiences frosting cakes before, but this worked like a dream. The frosting was really thick, but also very easy to work with. I had just the right amount to cover both cakes in a nice, thick layer of frosting, with plenty in between for filling.


I added some festive sprinkles, and voila!

I mean, look at this baby!

Speaking of which…


This was a really tasty cake. The frosting was definitely the overpowering flavor element, being both very sweet, a teeny bit tart from the cream cheese, and the vanilla really sealing the deal to delicious frosting. The cake itself was also nice, with just a little chocolatey flavor that a good red velvet cake should have. It also wasn’t as violent a red as it could have been, which was appreciated by some of my taste testers. I personally don’t mind heavily artificially colored food every now and then, but the really aggressive dye is still a turn off for some people, even after we’re using safer red food dyes.
I’d happily make this again, as you can probably tell, although I think next time, I’ll try to find the liquid food dye. As cool as the marbled look was, it would be fun to make a cake that’s just one color!
Or, you know. Maybe it would be fun to try and make a red and blue version of it. Might be an interesting 4th of July dessert, don’t you think?

Until then, I know how I’m going to be celebrating Valentine’s Day!
Looks delicious. Our family tradition is red velvet cake in Xmas eve. So glad you used cream cheese frosting. Buttercream on red velvet always feels like a violation of expectations.
ReplyDeleteLike I said, so long as there's enough butter and sugar, I'm happy! I've had cupcakes that tasted like someone just spread softened Philly Cream Cheese on top, and that's a flavor I just don't associate with dessert... haha
DeleteLooks delicious. If I end up buying red velvet cupcakes on my way home today I'm holding you and this post responsible! ;)
ReplyDeleteI would apologize, but that sounds delicious!
DeleteMaryellen looks adorable and the red velvet cake looks delicious.
ReplyDeleteI just stumbled on your blog and love the theme and ironically had just eaten the last slice of this cake for lunch. The majority of our family loves the cake but always those who don't want Cream Cheese Frosting on it. I am one of them...I just don't care for the taste.
My grandson's love it and always ask me to make it for them for snack when they visit. The oldest just asked me to make it green for St. Patrick's day...now I've never tried that but how hard can it be.
Ooh, a green velvet cake sounds interesting! I'd love to hear about the finished product if you make it. :)
Delete