

Quick, tasty and easily customizable!
My mom suggested making this recipe to bring along to a talk given at the historical society I used to intern at. We needed to bring some snacks for after the talk was over, and since I hadn't had a chance to feature Kaya in a while, we figured we might as well revisit a favorite recipe of my mom's and try and put a twist on it.
It was flexible, easy to make and is definitely a nice thing to have on hand if you're ever looking for a sort of quick treat to give people as a gift, and I'd highly recommend giving it a shot for yourself if you're ever in a spot where you need to make a quick dessert to bring somewhere. Read on to find out more!
Once again, this is obviously not a historic recipe. Kaya still wouldn't have access to chocolate, and although hazelnuts are considered a staple of Oregonian cuisine, this particular nut wasn't introduced to the area until after it had been settled by Europeans. Still, it's a really tasty nut, and something that Kaya's descendants might have enjoyed after it was introduced to the area. On top of that, as nuts were an important part of Nez Perce diet, it still references the history and culture of Kaya's family, even if it's a more modern interpretation of it.
The dried berries are the other connection to Kaya, as her family would preserve a portion of the sweet fruits they gathered during the spring, summer and fall so that they could enjoy them during the winter, too. We used a mix that included cherries and blueberries, but you can substitute with just about any other dried fruit if you're not a fan of that.

My mom usually makes this chocolate bark with toasted almonds, but since we were going with the Oregon connection, we decided to try it with hazelnuts instead. Again, you can probably use whatever nut you want, since most of them go well with chocolate. This is a really flexible, easy to customize thing to make, so you can easily accommodate for different tastes and allergies or dietary resistrictions.
Chopping up the hazelnuts was actually a lot of fun. I expected them to be a lot more difficult to chop, but the knife went through them easier than some vegetables I've wrestled with in the past, which was a pleasant surprise.


Some of them we left a coarser texture, but I chopped up a few into a fairly fine powder to try and make sure that there was nutty flavor on most of the chocolate, instead of just being the occasional chunk of nut to bite into.
We got a steam bath going on the stove to melt the chocolate. This helps keep the chocolate from seizing or burning, and it didn't take too long to melt down. The base of this bark is dark chocolate because it happens to be my mom's favorite kind of chocolate, and since we were bringing this to a function, we used some relatively high quality chocolate chips. It was a really nice, rich dark chocolate that was super smooth and easy to manipulate, which was definitely a good thing.


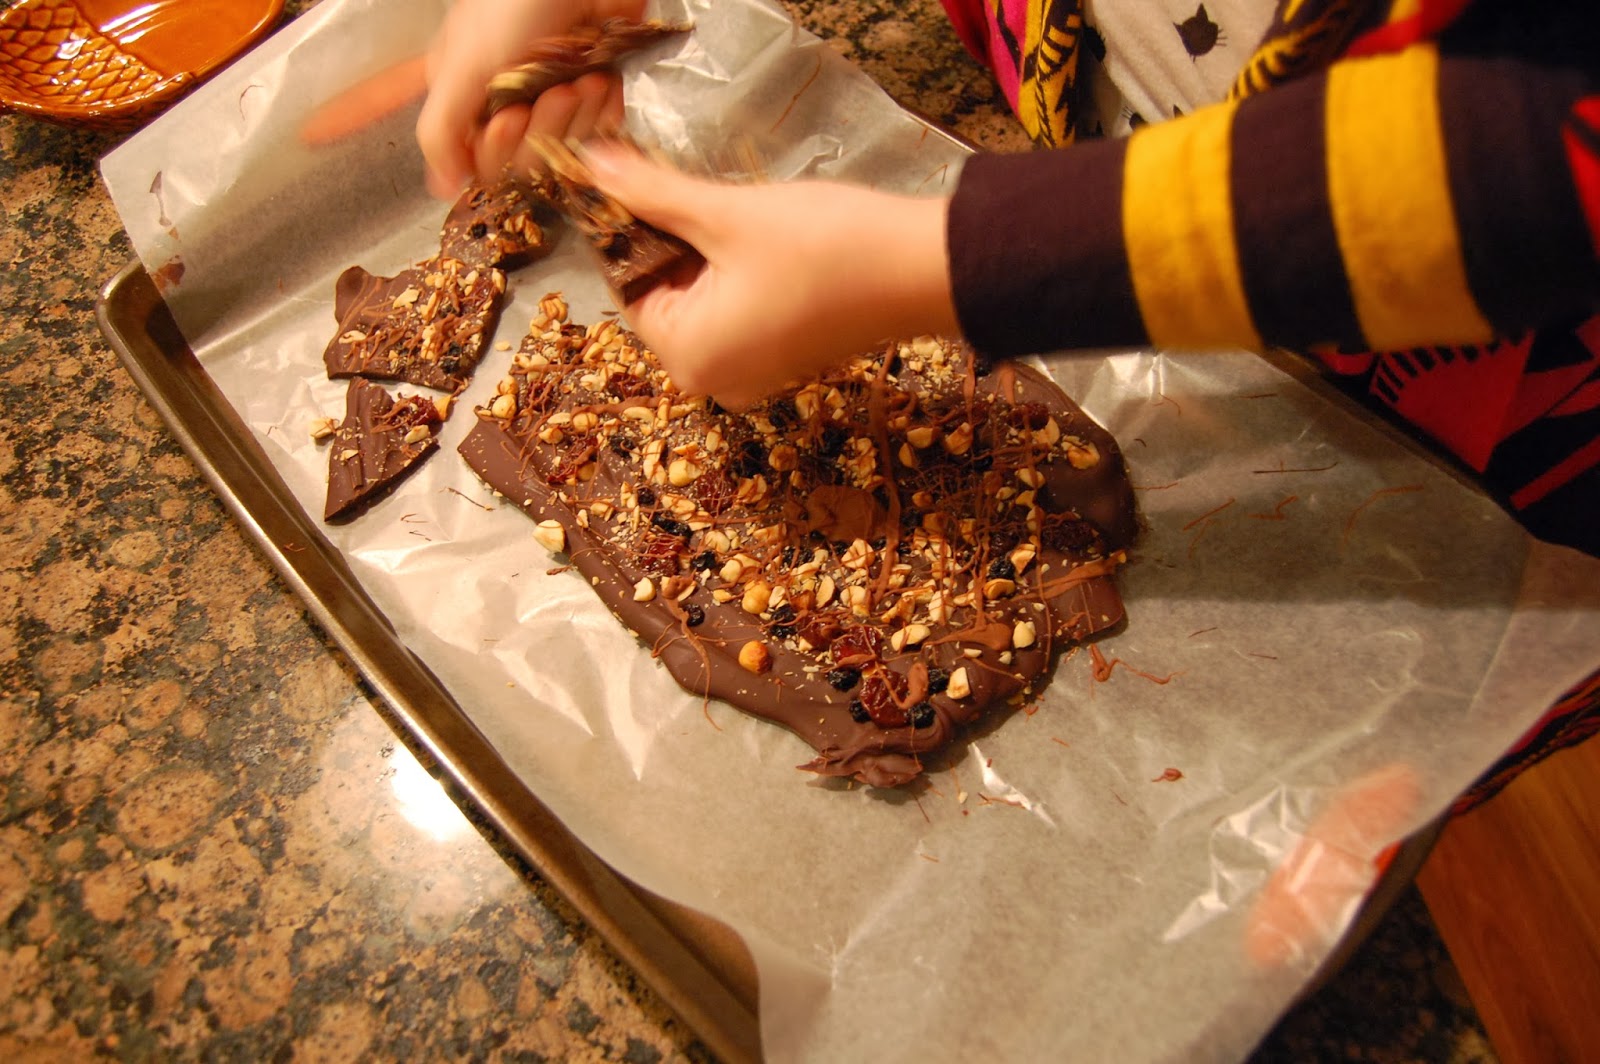
Once all the chips were melted, I poured it out onto a baking tray with some wax paper, and my mom showed me how to get it to be the right shape and width (thus the other set of hands in the second picture). I sprinkled the chopped up hazelnuts on first, and then added the dried berries, which we just left whole. I considered chopping them up, but they were obviously small enough to be bite sized chunks just as is, so I decided to leave them alone.
I gently patted the nuts and fruit down to make sure they were really secure in the chocolate before we moved on.


We got another steam bath going to melt down some milk chocolate chips. Drizzling another type of chocolate over, or swirling the two together adds some different colors, texture and flavor to the bark, especially if you're using white chocolate. I don't really like white chocolate except as an accent piece though, so I definitely didn't mind that we didn't use it in this recipe.
As it turned out, we made way too much melted milk chocolate, but my brother didn't mind, since he got to lick the bowl.


Once you're satisfied with the look of your bark, stick it in the fridge and let it cool. I'm not sure how long we left ours in the fridge, but we took it out maybe half an hour after we finished and found that the milk chocolate wasn't really cooled enough, so we put it back in for a while longer.
When we took it out again, it looked like this:

It came off of the parchment paper pretty easily, but abandon all hope of breaking it up into equal or symmetrical pieces if you're doing it by hand. I just snapped it into appetizer like sizes and tried not to handle it too much, because chocolate and body heat is a dangerous combination.


And that's it! There's a fun sort of rustic look to broken up chocolate bark, especially when it's got such great ingredients in it. If you're looking to give it as a gift or have a nice little presentation with it, putting a few pieces in a clear bag and tying it off with a ribbon makes it look like something you actually purchased at a store.
Since we were just serving it as a treat after a meeting, we put everything in a bowl.

After making another appetizer with our left over hazelnuts, we got everything packed up and headed out to the meeting!

Off we go!
It was a hit at the function! The only set back was that unfortunately, the chocolate got really, really melty if you didn't eat it immediately, and I discovered that the dark chocolate was really, really hard to get off of your hands once it was on it. Still, it was nice to make something that lots of people got to enjoy. I always like getting new people to try what we make and get them talking about the history behind different ingredients, as well as getting a chance to tell them about the blog. So far, people's responses have been really positive, and I've still been enjoying everyone else's enthusiasm.
Thanks for reading, and if you're considering giving this a shot, go for it! I really can't stress enough how stress free and easy this recipe is, and you come out of it with something that looks pretty and tastes great. It's a win, win!

That looks delicious! I also love how Kaya looks in her winter accessories.
ReplyDeleteIt was really tasty, I'm glad we had some left over. It's gotten pretty cold at night, so I figured I might as well break out the hat and shawl for the on the road pictures, haha.
Delete